
How to Excavate a Construction Site: Step-by-Step Guide
If you’ve ever watched an excavation project from the road and wondered what exactly is happening out there, the honest answer is: more than it looks like.
Soil gets assessed. Utilities get located. Plans get verified against real site conditions. Equipment gets selected based on what the ground actually needs. Safety systems go in place. Then, and only then, does the digging start.
This guide covers how to excavate a construction site the right way, from the first site walk to the finished, compacted base that everything else relies on.
What Is Construction Site Excavation?
Construction site excavation is the foundational phase of any build, literally. It’s the process that takes raw or existing land and transforms it into a site that can support a structure safely for its entire lifespan.
Understanding how to excavate a construction site correctly can mean the difference between a solid long-lasting structure and expensive structural problems later.
The work involved spans soil assessment, utility management, site clearing, grading, foundation and trench excavation, drainage management, and compaction. Each phase feeds into the next. Getting one wrong creates problems that compound through everything that follows.
When Does A Construction Site Need Excavation?
The short answer is: almost always. Virtually every construction project touches the ground, and virtually every ground-touching project requires some form of controlled excavation.
New builds need foundations. Foundations need excavated bases. Utilities need trenches. Drainage systems need shaped channels. Roads and driveways need prepared subgrades. Retaining structures need excavated footings. Each of these is an excavation task, and each of them affects the performance of whatever’s built on or around it.
Planning Before Excavation
The work that happens before the first machine arrives on site is what determines how the excavation itself goes. Skipping or rushing the planning phase is one of the most reliable ways to create expensive problems mid-project.
Site assessment is first. What are the soil conditions? Is there groundwater to manage? What are the site’s existing grades? Are there any buried obstacles or old foundations? Before a single scoop of dirt moves, you need a clear plan. Get a professional land survey of the property boundaries and existing structures. Mark exact locations for foundations, basements, septic systems, and utilities. Identify soil type because each behaves differently when dug.
Utility location is non-negotiable. In Canada, contact your local utility notification centre (Ontario One Call, BC One Call, etc.) before any digging begins. Utilities will be marked at no cost. Hitting an unmarked utility line is dangerous, expensive, and entirely preventable.
Permits come next. Most municipal excavation work requires permits before you start. Knowing what’s required and having approvals in place before equipment arrives avoids costly delays.
Step-By-Step Construction Site Excavation Process
Here’s how a professional excavation unfolds from start to finish.
Step 1: Site clearing. Vegetation, existing structures, debris, and anything else that needs to come out gets removed before excavation begins. Topsoil is often stripped and stockpiled separately for reuse during final landscaping.
Step 2: Layout and marking. Foundations, trenches, and excavation boundaries get marked on the ground using stakes and string lines. This is the step that translates the plan into physical markers the equipment operators work to.
Step 3: Excavation. Smart contractors dig in planned lifts, usually 4 to 8 feet at a time, and stockpile topsoil separately for later landscaping use. Spoil piles must be kept at least 2 feet back from the edge so they don’t fall in or overload the sides.
Step 4: Shoring and safety. For deeper excavations, protective systems go in as the dig progresses. Benching creates giant steps in the side walls. Trench boxes or shoring uses steel or aluminum shields that protect workers inside.
Step 5: Foundation and utility preparation. Once the excavation is at depth, foundation footings get formed, utility trenches get dug, and drainage systems get installed.
Step 6: Backfilling and compaction. Once underground pipes are laid and foundations are poured, the excavation must be closed. You cannot use organic topsoil for this. You typically need engineered structural fill. You must mechanically compact it. Soil supporting building foundations usually must hit 95 to 98 percent of the maximum Proctor density.
Step 7: Final grading. The finished site gets graded to the design profile, with slopes that direct surface water away from the building and toward appropriate drainage outlets.
Construction Site Excavation Safety Tips
Excavation is one of the higher-risk phases of construction, and the safety measures that apply aren’t optional. Here are the ones that matter most.
Locate utilities first, every time. Before any digging starts. No exceptions.
Assess soil conditions daily. Every morning and after rain, someone trained in soil classification and protective systems must walk the excavation and look for cracks, water seepage, or falling rocks. Fix problems immediately.
Use protective systems in deeper excavations. Never take shortcuts here. A cubic yard of soil weighs about 3,000 pounds, enough to crush a person instantly. Sloping, benching, and trench boxes are all acceptable systems depending on soil conditions and excavation geometry.
Keep spoil piles back from edges. Spoil piles and heavy machinery must be kept at least 2 feet back from the trench edge. This prevents extra surcharge weight from collapsing the walls.
Maintain egress from trenches. If the hole is deeper than 4 feet, you need ladders, ramps, or steps no more than 25 feet apart so workers can get out fast in an emergency.
Equipment Used In Construction Site Excavation
The equipment on an excavation site depends on the scale and nature of the project, but some machines appear on almost every job.
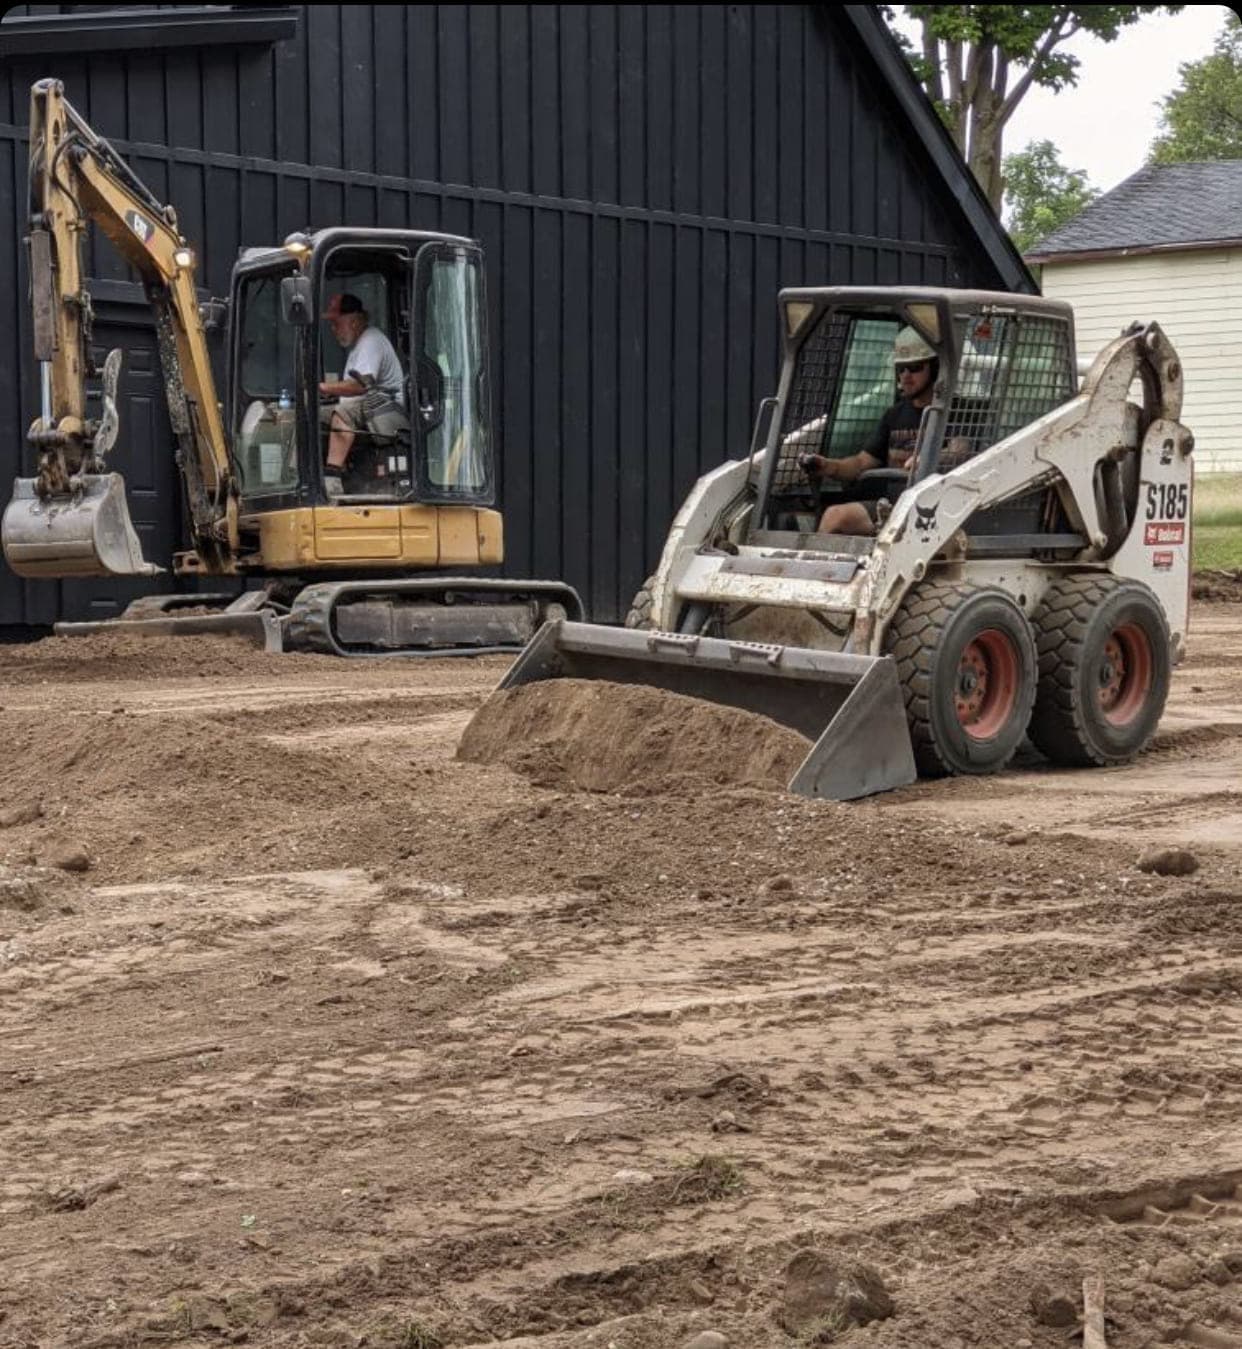
Hydraulic excavators handle most of the digging. Versatile enough to excavate foundations, trenches, and large cuts, they’re the workhorse of any serious excavation. Bulldozers clear and grade. Skid steers and compact loaders work in tighter spaces. Dump trucks haul spoil continuously. Compactors finish the base layers.
Larger or more complex projects add specialized equipment. Dewatering pumps manage groundwater. Drilling rigs install shoring systems. Grade lasers and GPS guidance systems improve precision on sites where elevation tolerances are tight.
Conclusion
Excavation done right is invisible in the finished project. The foundation sits level. The drainage works. The utilities are where they should be. The ground doesn’t settle.
All of that happens because someone planned the excavation carefully, executed it in the right sequence, and didn’t cut corners on safety or compaction. That’s what good construction site excavation looks like from the inside.
Have Questions About Your Project?
Our team of experts is here to help you make the right decisions for your property.